
Nail art can seem like a daunting endeavour for those of us who are not professional manicurists. However, the beauty of this craft is that it's accessible to beginners with the right designs and a bit of practice. From chic and understated to bold and playful, there are numerous designs you can recreate at home with a few simple tools. In this article, we'll explore ten nail art designs that are perfect for beginners looking to add a touch of creativity to their nails.
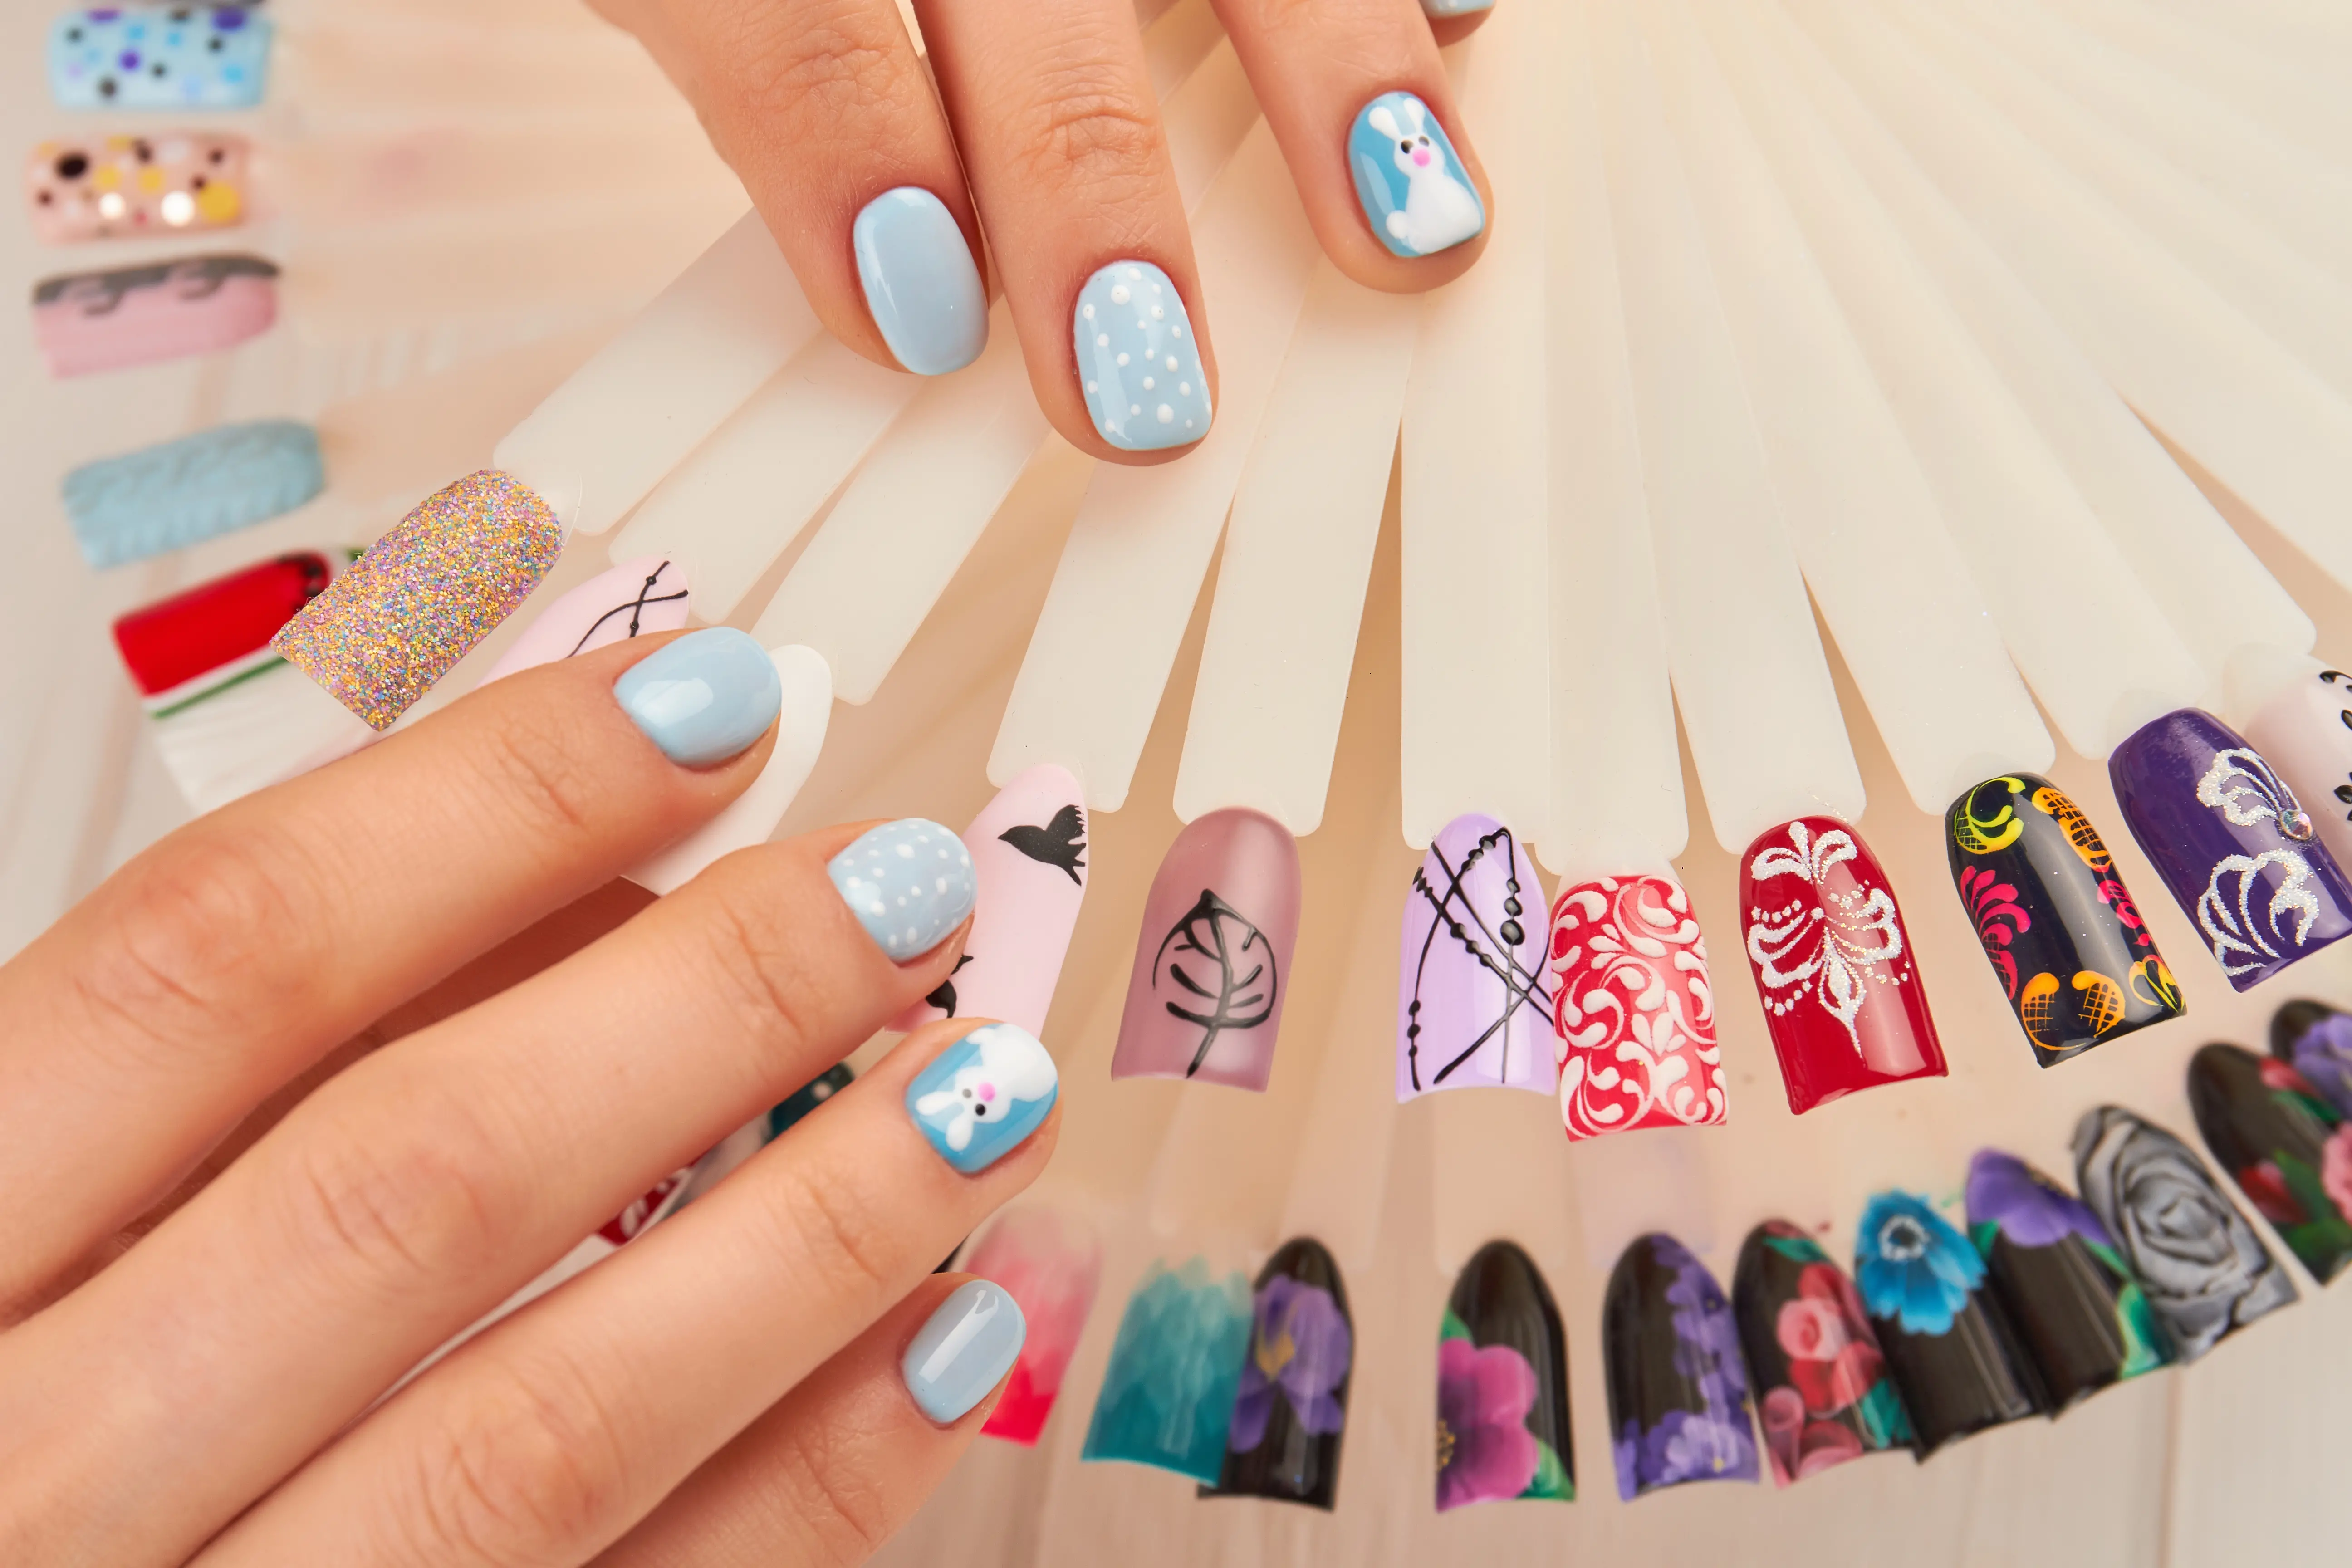
The first design to try is the classic polka dot. It's simple yet impactful, and all you need is two nail polish colours and a dotting tool, or you can even use the head of a pin or a toothpick. Begin with a base coat in your chosen colour, let it dry, and then dot on an alternate colour with your tool of choice. It’s a playful look that’s perfect for all occasions and is easily customisable by switching up the colours.
Stripes are another easy option that can be created using tape. After applying your base coat and letting it dry, place thin strips of tape in a pattern on your nails. Paint over them with a different colour, and then carefully remove the tape before the polish dries for a crisp, clean line. This technique can be used to create diverse patterns, and metallic or contrasting shades work exceptionally well for a striking effect.
If you're going for a more natural look, try the gradient or ombre effect. This style requires a sponge and two-to-three complementary colours. After applying your base colour, dab your sponge with the secondary colours and gently press it onto the tips of your nails, blending slightly into the base colour. You can create a smooth transition from one colour to another by overlapping the colours slightly on the sponge.
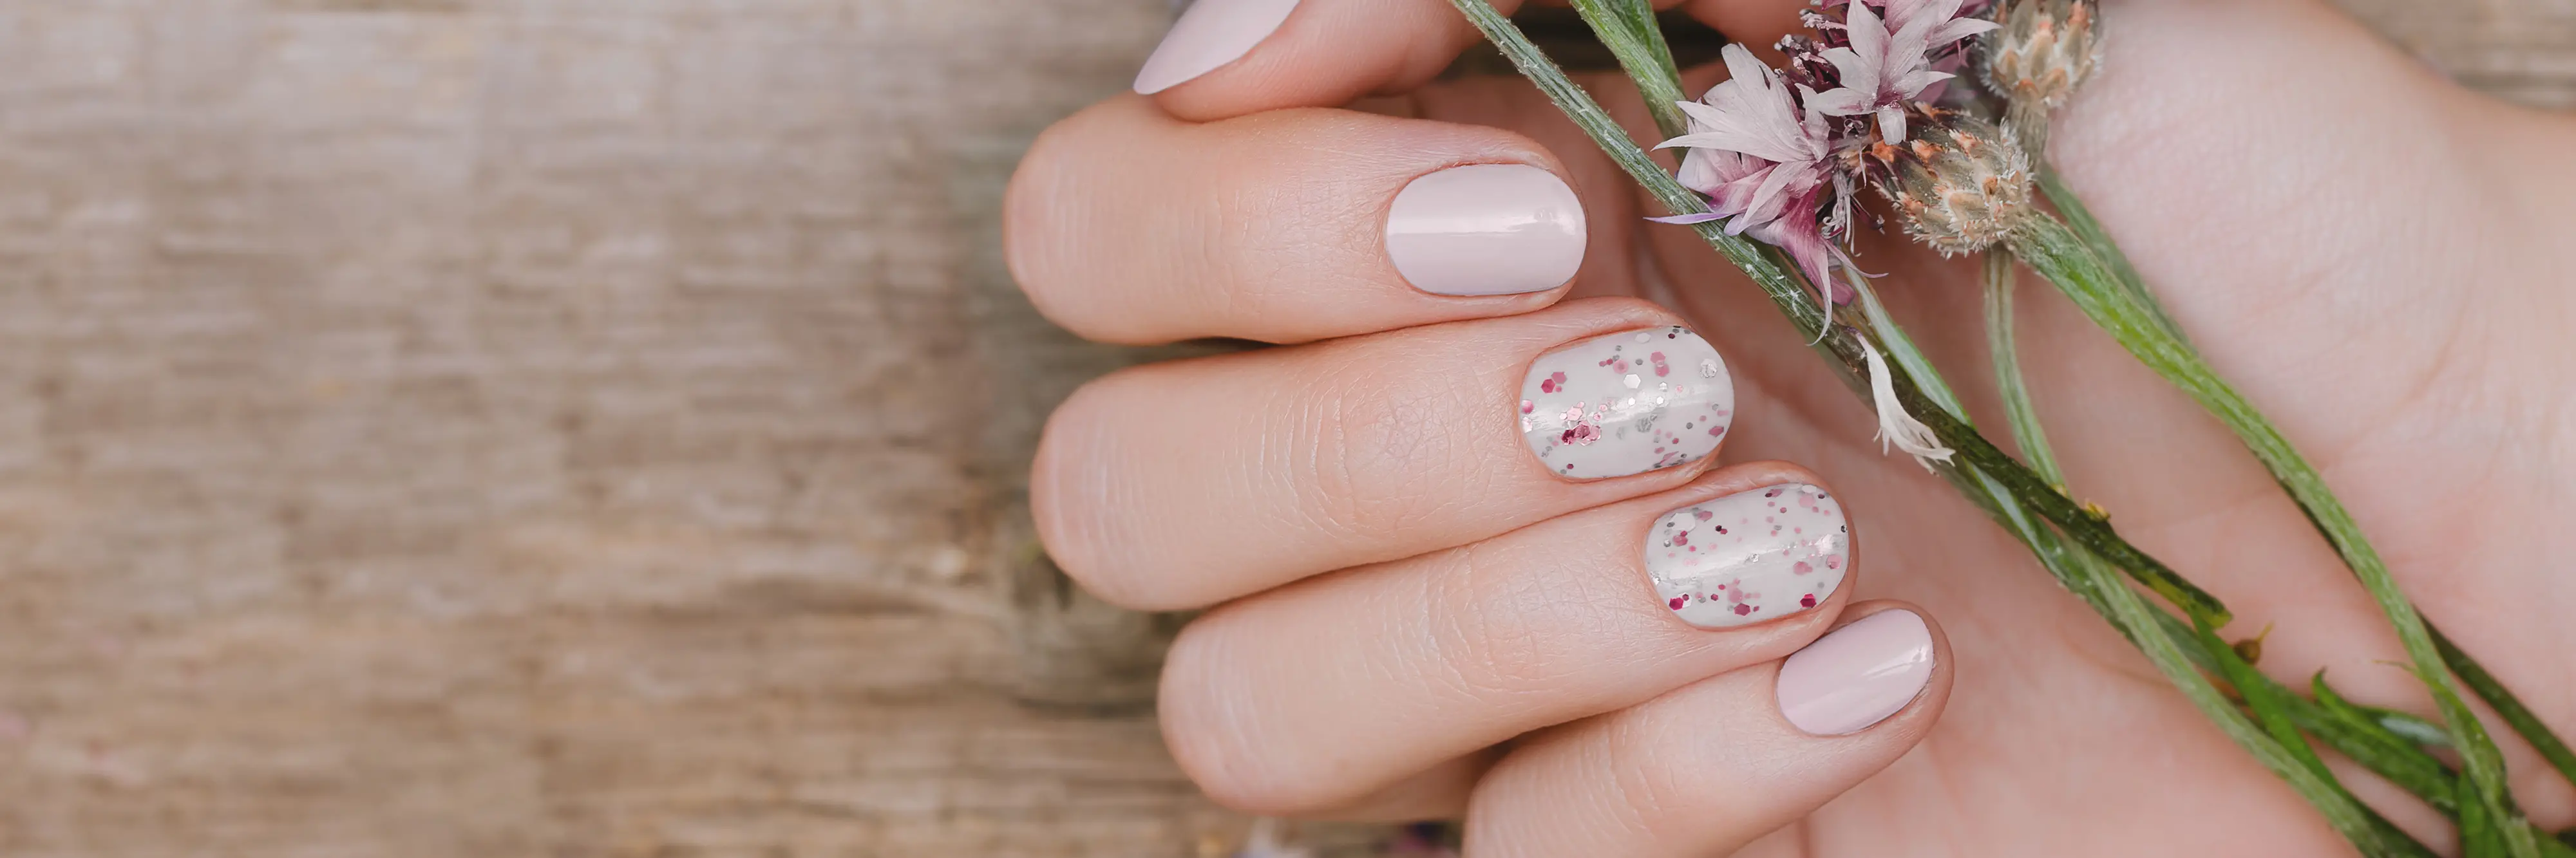
For something a bit fancier, the glitter fade is glamorous yet easy to achieve. Start with a solid base coat colour, and then apply glitter polish starting from the tip of the nail, fading down. The key is to use less glitter polish as you move towards the cuticle to achieve the fading effect. It’s a versatile look that can be worn casually or on special occasions.
Continuing with the theme of shine, a metallic stripe design is another simple but sophisticated look. Once your base coat has dried, use a metallic polish to add a single stripe either down the centre or along one side of each nail. This is minimalistic chic at its finest, and the metallic sheen adds an instant upgrade to your manicure.
To embrace your inner artist, try the splatter paint design. You will need a straw and a few bright nail polish colours. First, apply a white or black base coat. Then dip the end of the straw into one polish colour at a time and blow through the other end to create splatters on your nails. It’s a messy yet fun technique, so make sure to protect your workspace with some newspaper or plastic.
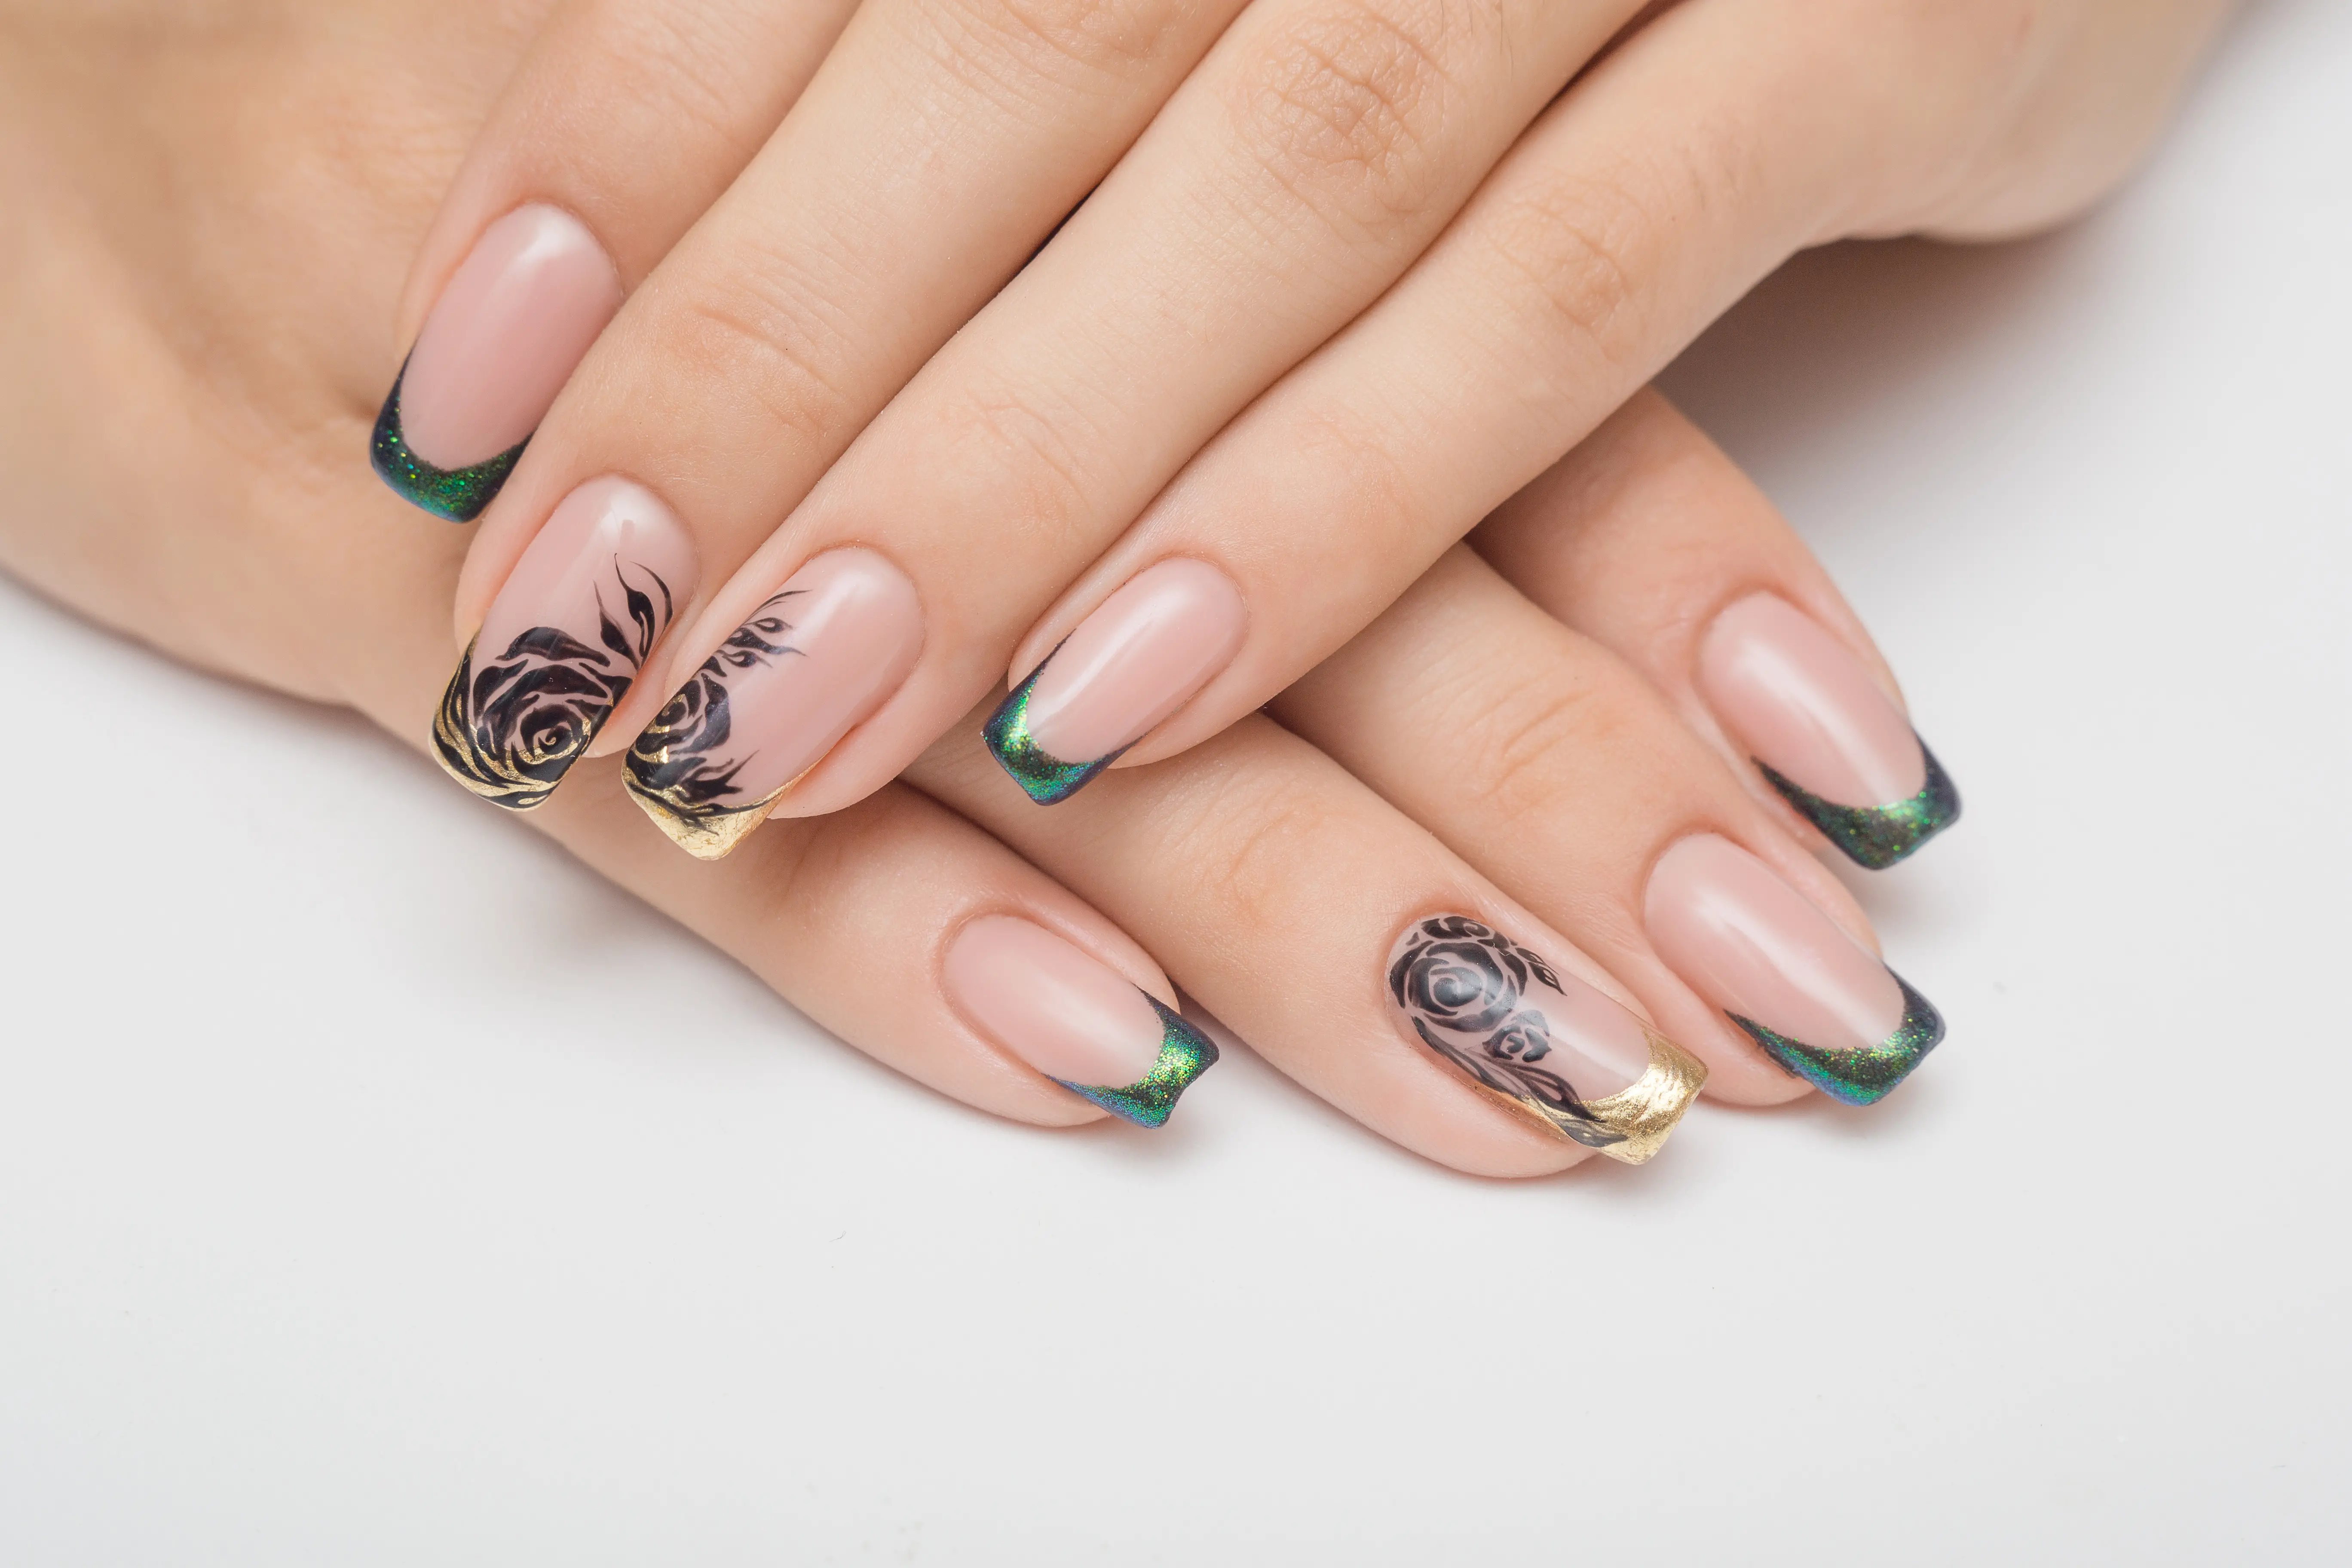
Floral designs can also be simplified for beginners. Choose a bright base colour and a few additional colours for the flowers. Using a dotting tool or a toothpick, create small dots in clusters of five to form flower shapes. Add a contrasting dot in the centre, and you’ve got a simple floral pattern.
Leopard spots may sound intricate, but they're surprisingly straightforward. Begin with a base colour and then add irregular small blobs of a secondary colour. Once dry, use a black polish to add 'C' shapes and irregular lines around the spots; this doesn’t need to be perfect, as the beauty is in the irregularity of natural leopard spots.
For a cool textural look, try a matte and gloss combo. Begin with a matte base coat in any colour. Once it's dry, use clear gloss polish to draw simple designs like stripes, dots, or even chevrons over the matte base for an interesting yet subtle contrast.
Last but not least, the geometric designs can be as simple or complex as you wish. Use tape to create shapes like triangles or diamonds, then paint inside the taped area with another colour. The result is clean, modern lines that look like they took more skill than they actually did.
With these ten simple nail art designs, beginners have a variety of options to try their hand at home. These are great starting points, and as you become more comfortable with these techniques, you can experiment and add your own creative spin. Remember, the key to beautiful nails is patience and practice. Start with the basics, and soon enough, you'll be able to tackle more complex designs with confidence. Let your nails be your canvas, and enjoy where your creativity takes you!