
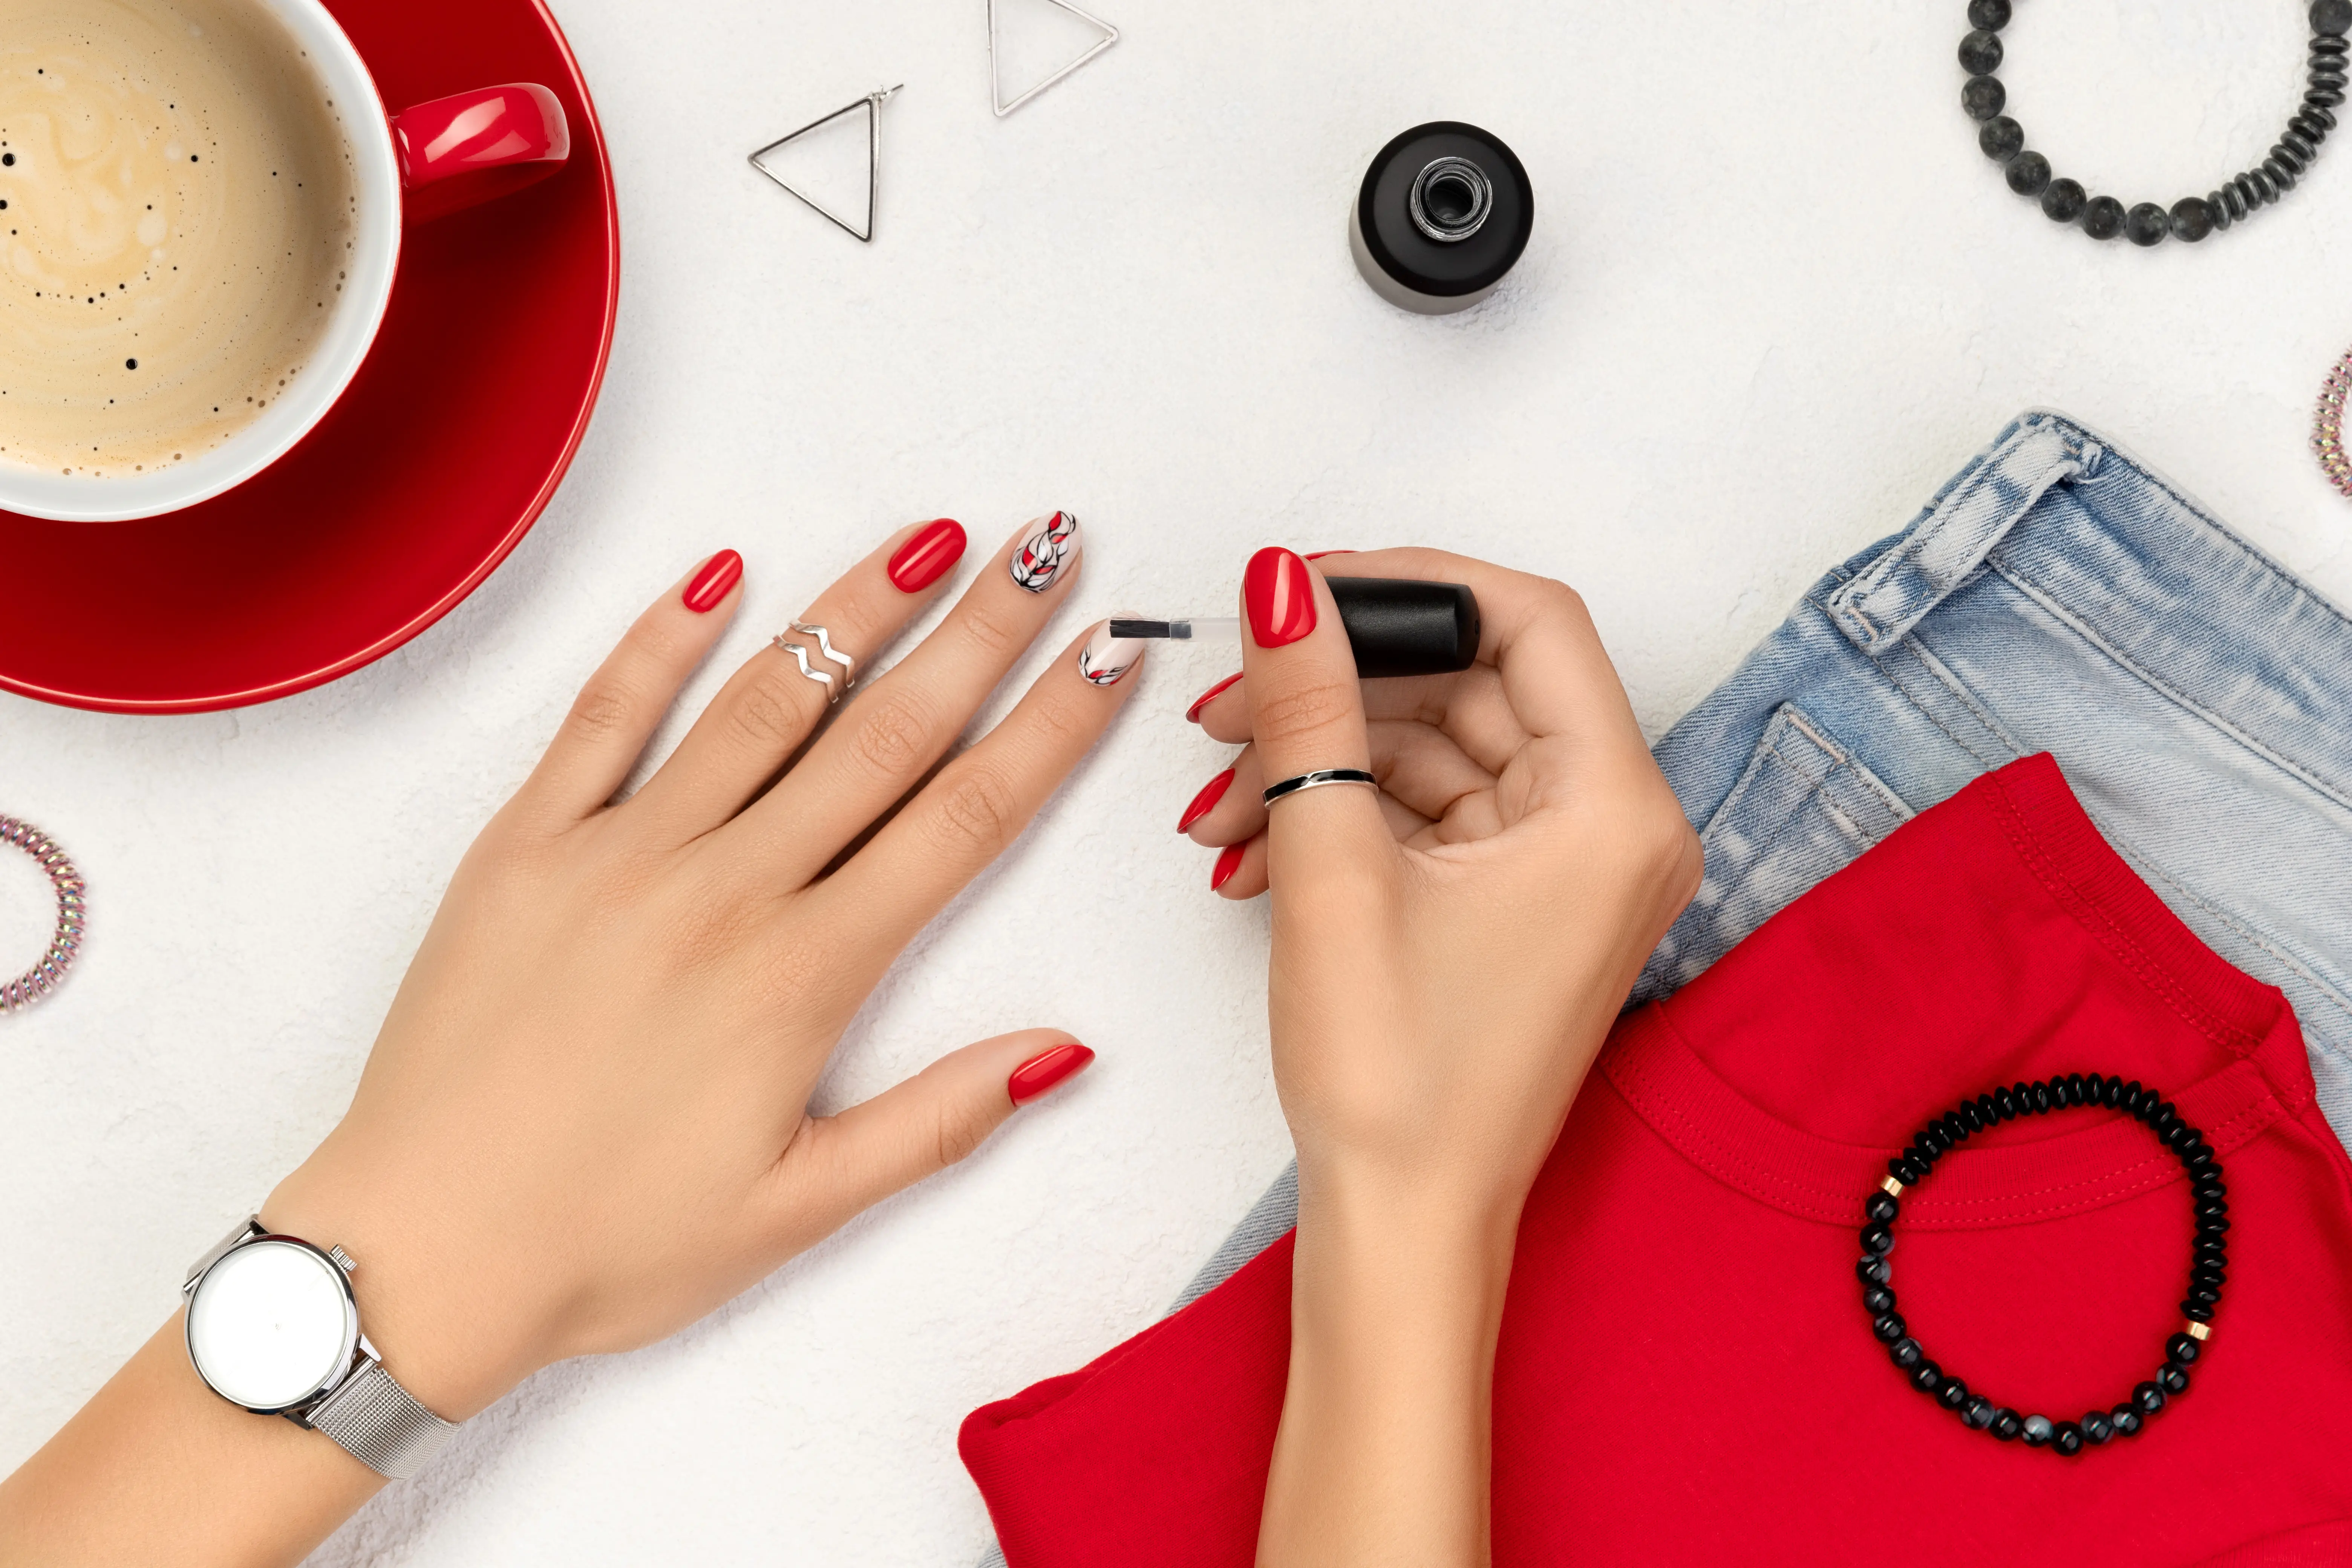
The art of nail design has taken the beauty world by storm and mastering it has become a sought-after skill among those looking to express their creativity or enhance their professional offerings. Whether you’re a beginner eager to dive into the mesmerizing world of nail art or a seasoned aficionado aiming to sharpen your skills, having a solid understanding of the basic tools and techniques is essential. Here we lay out the essentials you need to know to create stunning nail art that stands out.
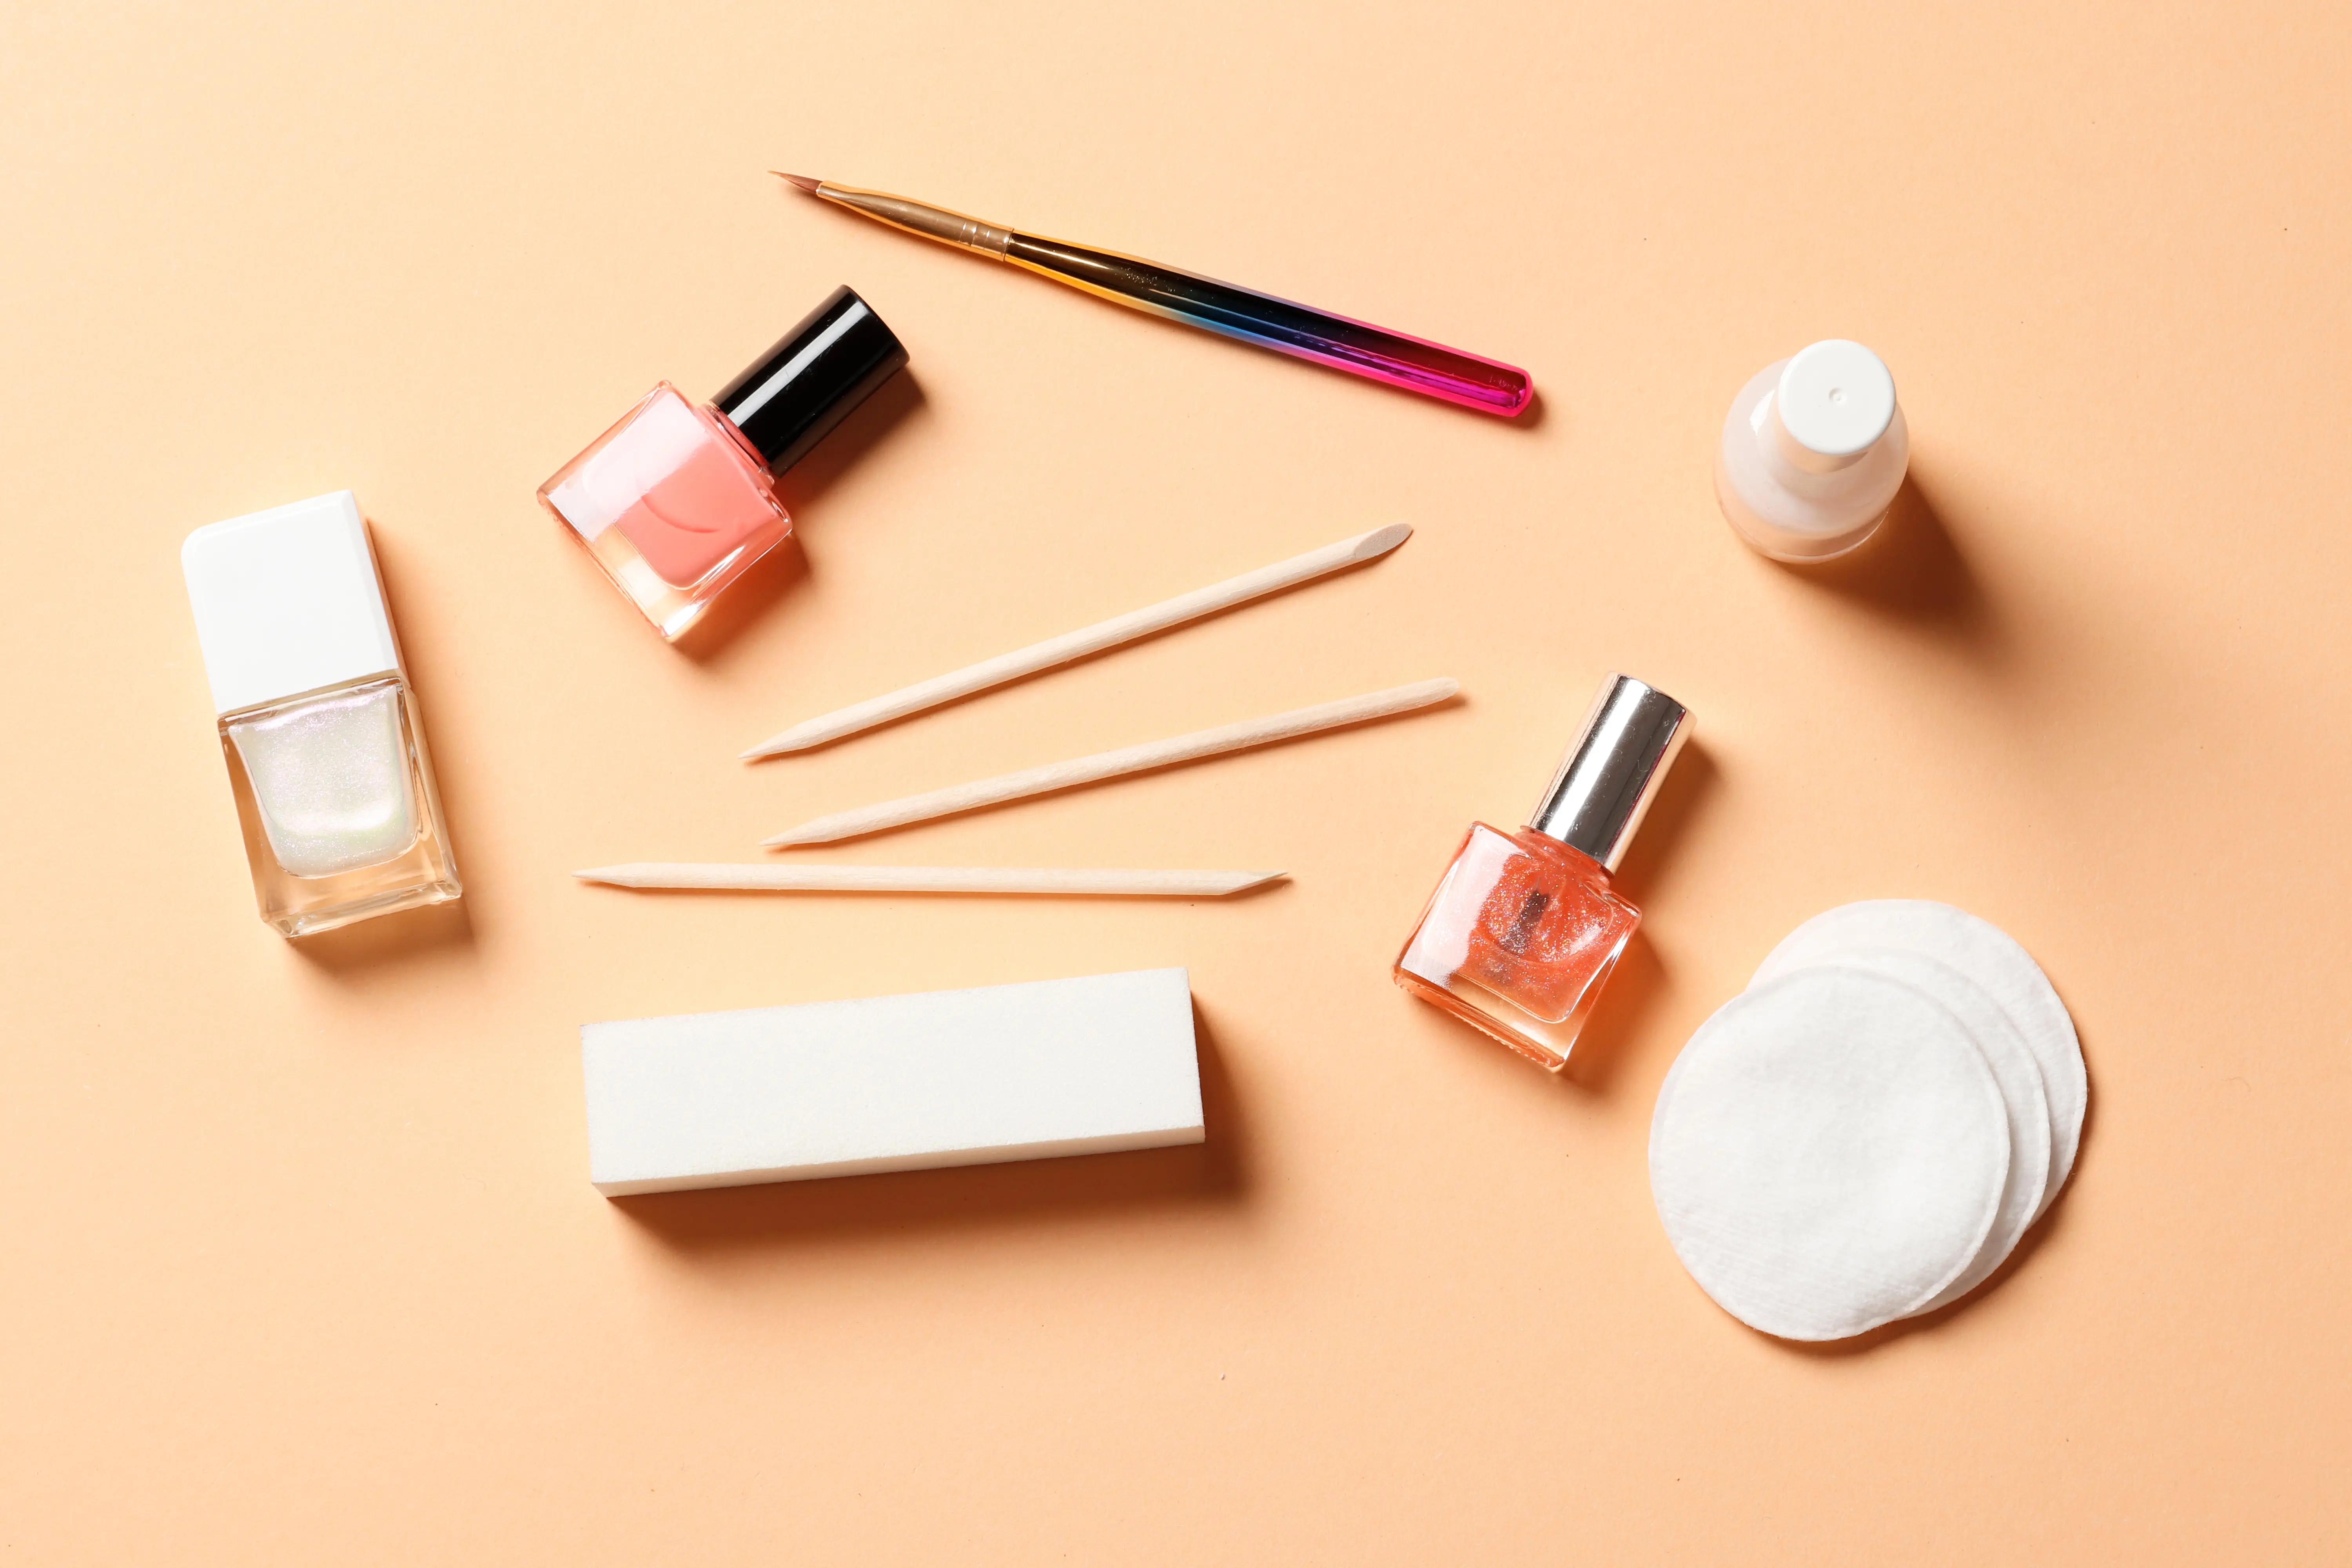
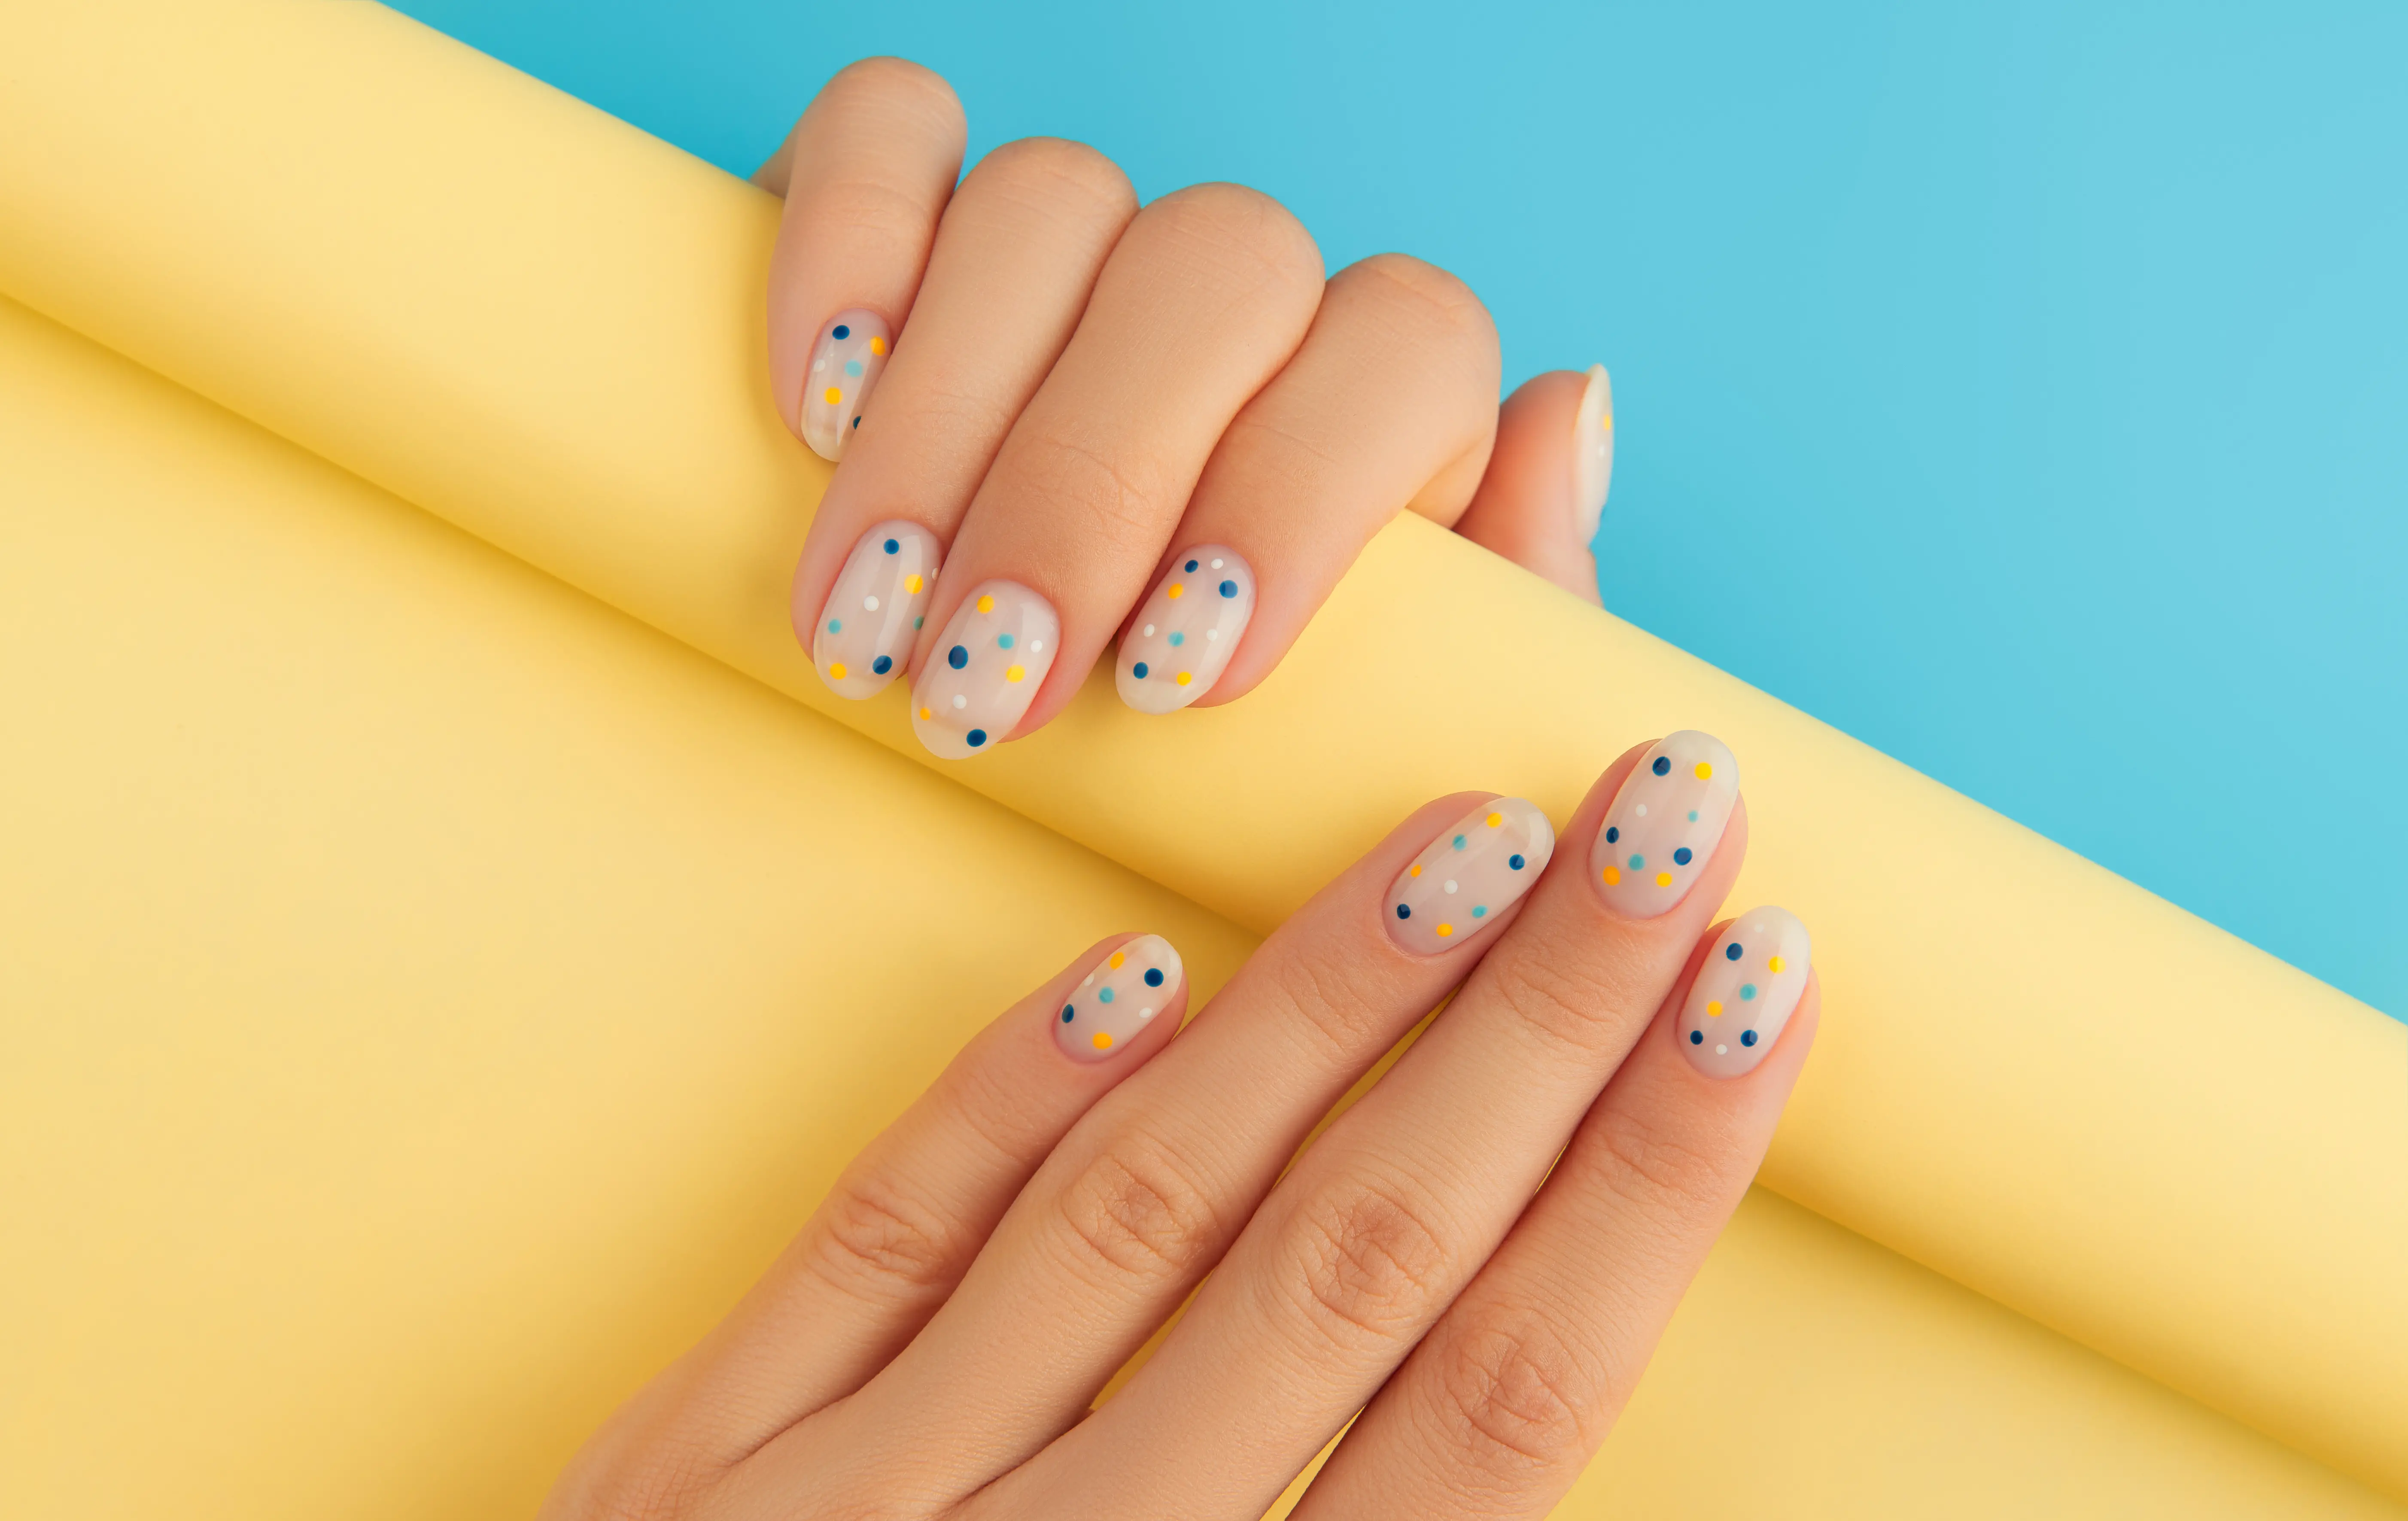
Getting started in nail art is similar to building up an artist's studio—having the right tools at your disposal is a game-changer. The fundamental toolkit for any aspiring nail artist should include nail files and buffers for shaping and smoothing, cuticle pushers and nippers for tidy nail beds, and a selection of brushes of varying widths for detailed designs. Dotting tools are also indispensable for creating dots of all sizes, an essential component in many nail art designs.
Quality is key when selecting your nail polish; this is the canvas for your creations. You'll want a range of colors from trusted brands that offer good opacity and a smooth finish. For intricate work, investing in nail art pens or striping tape can allow for precision and crisp lines. These specialized tools open the door to a plethora of designs, including geometric patterns and delicate florals.
When you have your basic toolkit assembled, it's time to explore the techniques that will enable you to create eye-catching nails. First is the dotting technique; by simply dipping your dotting tool or the tip of a bobby pin into polish, you can create a variety of designs including flowers, spirals, and leopard spots. Steady hands and a patient attitude are often required, but the results can be incredibly rewarding.
Another popular technique is marbling, which can be done using a few colors swirled together on the nail surface or in water. Water marbling involves dropping different colored polishes into clear water, then using a stick to create patterns in the polish before dipping the nail in. Although this method can be messy and a bit hit-or-miss for beginners, the swirling, often psychedelic results are unique and dramatic.
Striping tape can be used to create crisp lines and patterns on the nails. It's simple but requires precision. Apply a base coat of polish and allow it to dry thoroughly. Then, lay the striping tape in your desired pattern and paint over it with another color. Once the polish is slightly dry but still tacky, carefully remove the tape to reveal a sharp design underneath.
Stencils and decals are a great way to add complex and detailed graphics without having to freehand the design. These can be particularly useful for creating symmetric designs or intricate patterns that are difficult to achieve with freehand drawing alone. They’re also incredibly time-saving and can help you create professional-looking nail art in a fraction of the time.
Modern technology has brought us stamping plates, where you can apply polish to an engraved design, scrape off the excess, and then transfer it onto your nail using a silicone stamper. Stamping is exceptionally versatile and allows for high-quality, consistent designs with minimal effort once you get the hang of the technique.
For those interested in adding texture and dimension to their nails, there are techniques like the use of flocking powder for a velvet effect, or adding rhinestones or studs for a bit of sparkle and edge. Application tweezers can be incredibly helpful when placing tiny decorative elements with precision.
Another trend that has gained popularity is the use of gel polishes, which provide a longer-lasting and more durable finish than traditional nail polishes. Using a gel system requires an LED or UV lamp to cure the polish, setting it in place for weeks without chipping. Though this requires an additional upfront investment, many enthusiasts find the lasting power and high-shine finish to be worth it.
Lastly, no matter which techniques you choose to explore, the most critical step in any nail art routine is the topcoat. A good topcoat not only seals in your design but also adds a glossy or matte finish, depending on your preference, and can elongate the life of your nail art.
Nail art is a journey, and like any skill, it requires practice and patience. While it may take time to master the precision and steadiness needed for elaborate designs, even beginners can create simple yet stylish nail art that can add flair to any look. So grab your nail art toolkit and let your creativity run wild; your next mini-masterpiece is right at your fingertips. With these essential tools and techniques at your disposal, you're well on your way to becoming a nail art aficionado. Keep experimenting and most importantly, have fun with it!