
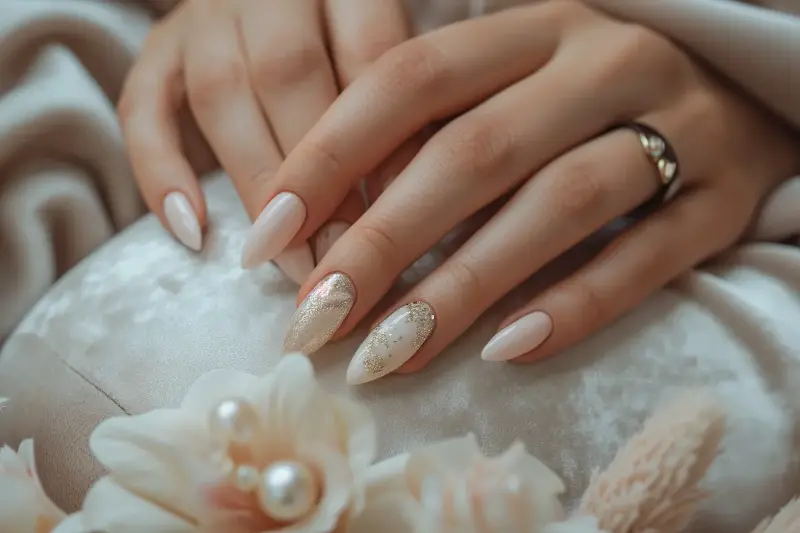
Dreaming of flaunting flawless, chip-free nails that last as long as a professional set? You’re not alone. Professional-looking manicures once seemed the reserve of expert nail technicians, but times have changed. Armed with the right tools, techniques, and a pinch of patience, anyone—regardless of skill level—can unlock salon-quality results right at home.
Whether you want a classic nude, statement art, or simply a long-lasting polish, these secrets will have your fingertips looking fabulous for days on end.
FOUNDATION FOR LASTING PERFECTION: NAIL PREP IS KEY
The true secret behind any long-lasting manicure is all in the preparation. If you’ve ever wondered why salon manis seem to endure weeks of wear, it’s because nail techs never skip the basics.
- Cleanse: Start by washing your hands and removing all old polish, even the stubborn residuals around your cuticles. Use a gentle, acetone-free remover if possible to avoid drying out your nail bed.
- Soak: Soak your fingertips in warm, soapy water for a minute or two to soften cuticles.
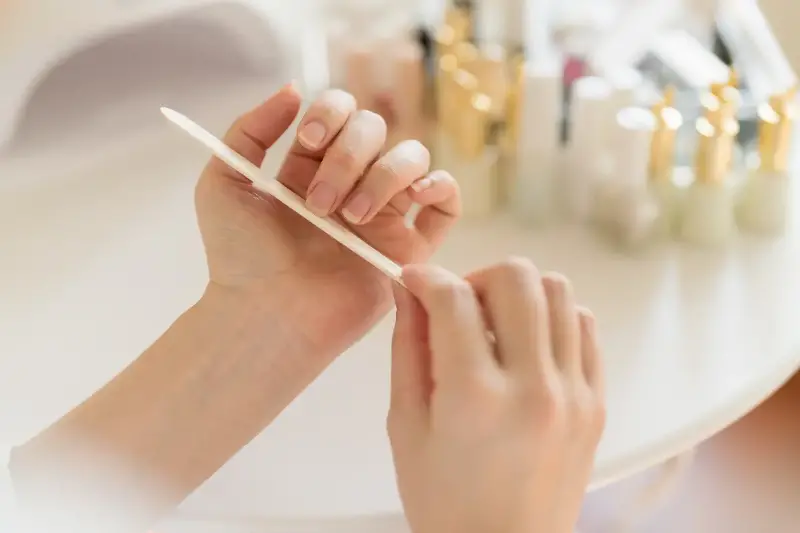
- Push, Don't Cut: Using a cuticle pusher, gently nudge cuticles back—never cut them, as this can lead to infection and uneven nail growth.
- Buff: A quick sweep with a fine-grit buffer removes ridges and rough spots. Just remember, over-buffing thins the nail, so less is more.
- Dehydrate: Lastly, wipe nails down with rubbing alcohol or a dehydrator to remove natural oils—they’re the enemy of lasting lacquer.
SHAPE, FILE, AND PROTECT: LAYING THE GROUNDWORK
It’s not just what you put on your nails that matters, but how you shape them. File nails in one direction only (no seesawing!) with a glass or crystal file for minimal breakage.
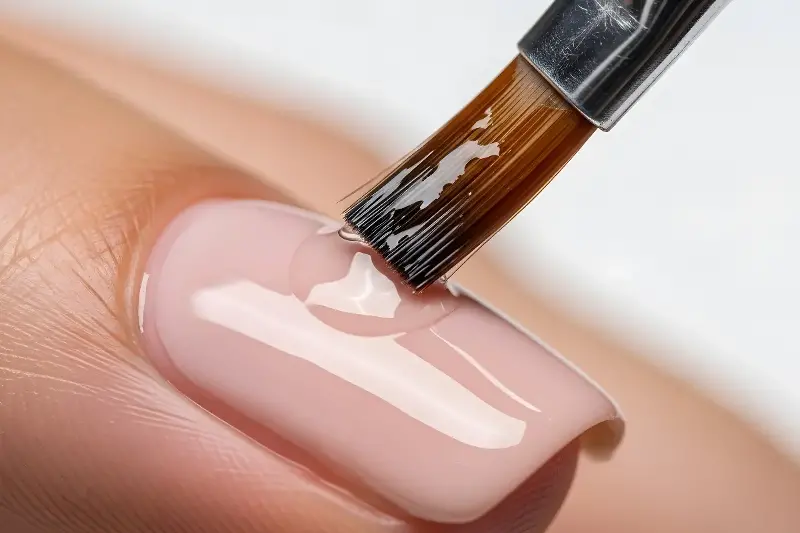
The most durable shape? Squoval. This hybrid style blends the elegance of oval with the strength of a squared tip, helping prevent unwanted splits. Once shaped, apply a quality base coat. This not only protects your natural nails from staining but also anchors the polish for extra longevity. Some base coats even come with calcium or keratin to fortify weak nails. Brush on one thin, even layer, and let it dry thoroughly before moving on to color.
CHOOSING POLISHES LIKE A PRO
Not all nail polishes are made equal. Pay attention to formulas labeled “long-wear”, “gel-like” or “chip-resistant”. Modern brands have enhanced their offerings with flexible polymers and hardening agents to rival actual gels—no UV lamp required.
Pro Tips for Color Application:
- Roll, Don't Shake: Always give the bottle a gentle roll to mix the pigment. Shaking the bottle causes air bubbles that lead to chipping.
- The Power of Thin Layers: Apply three thin coats rather than two thick ones. Thin layers dry faster and bond more securely.
- Cap the Edge: Swipe the brush horizontally along the very tip of your nail (the free edge). This "capping" technique acts as a safeguard against everyday wear and dreaded chipping.
SEAL IN THE SHINE: TOP COAT MAGIC
You might be tempted to skip the top coat, but don’t—they’re the unsung heroes behind salon-grade manis. Go for a high-gloss, quick-dry formula for that glass-like shine.
For ultimate endurance, refresh your top coat every two to three days to re-seal edges and maintain luster. And for extra protection, dip your freshly painted digits in an ice-cold water bath for a minute post-polish—this helps set the color and harden the layers instantly.
AFTERCARE AND EVERYDAY HACKS FOR LONGEVITY
Manicures face daily threats from typing, cleaning, and household tasks. To keep your work pristine, follow these simple habits:
- Wear Gloves: Water and detergent are the primary culprits for lifted polish. Wear gloves while washing dishes or cleaning.
- Hydrate with Cuticle Oil: Healthy, hydrated cuticles mean fewer snags. Use oil nightly, massaging into the base of each nail for improved strength.
- Moisturize: Hydrating lotions packed with Vitamin E keep your skin supple and prevent cracks from traveling up your nails.
- Touch Up: If chips do happen, resist the urge to peel them. Instead, lightly buff the spot and touch up with color and a fresh layer of top coat.
INSIDER SECRETS FOR THE DIY ENTHUSIAST
Want to take your skills to the next level? Some DIYers swear by applying a ridge-filler as an extra pre-base coat shield against staining and splitting. To speed up drying, professional nail artists recommend a cool setting on your hairdryer—never warm air, as it softens the polish.
Finally, never underestimate the power of a mini weekly tidy-up. Even the best mani can do with a quick buff and oil refresh to keep that just-left-the-salon feel. With a little care, the right products, and these pro-approved tips, salon-quality nails are just a home session away. Your hands will be turning heads, and your nails will stay flawless until your next DIY masterpiece.