
Car scratches can range from minor annoyances to significant eyesores that detract from the beauty and value of your vehicle. Regardless of their severity, there's something deeply irritating about noticing a new scratch on your beloved car – it's almost as if the vehicle's imperfections are a personal slight. But before you rush off to the garage and shell out for professional repairs, it may cheer you up to know that there are several do-it-yourself techniques you can use to tackle those blemishes head-on. These methods are simple, affordable, and can save you the trip and the expense of professional touch-ups.

Understanding Different Types of Scratches
Before diving into the world of DIY scratch removal, it’s crucial to understand that not all car scratches are created equal. There are generally three levels of scratches, each requiring a different approach.
The first level involves clear-coat scratches, which are the most superficial and affect only the clear top coat over the paint. Next are primer scratches, which are more severe and reach the primer layer beneath the paint. Lastly, the most profound are the paint scratches, which penetrate the clear coat and primer, exposing the metal underneath.
DIY Techniques for Clear-Coat Scratches
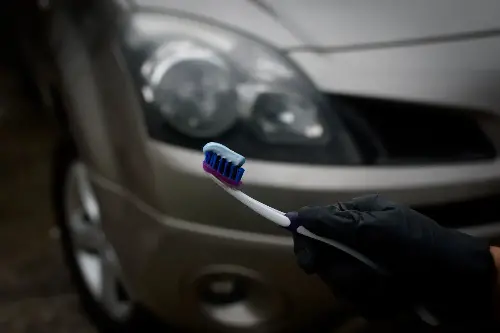
For clear-coat scratches, the fix can be remarkably straightforward. One popular home remedy involves using a small amount of toothpaste. Toothpaste, particularly whitening varieties that contain small abrasive particles, can act like a sandpaper and smooth out the uneven surface of the clear coat.
Here's how to do it: Clean the area around the scratch with soapy water and a microfiber towel. Then, apply a dab of toothpaste onto a dampened cloth and gently rub it over the scratch in a circular motion. After a few minutes, wipe the area clean and check your progress. You may need to repeat the process a few times for the best results.
Dealing with Primer Scratches
When the scratch has gotten through the clear coat and reached the primer, it's time to up the ante. Investing in a scratch removal kit is a smart move in this case. These kits usually come with a scratch-filling compound that you can use to fill the scratch, followed by sanding pens or blocks that help you to carefully smooth the area back to a level surface.
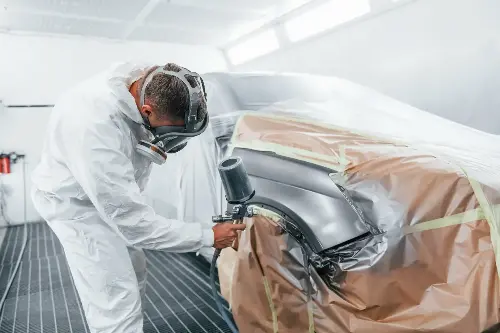
Once the scratch is filled and the area is smooth, you’ll need to find an automotive touch-up paint that matches your car’s colour. Manufacturers often provide paint codes on a plaque in the driver's side door jamb or under the bonnet, making it easier to find the exact shade you need. Apply the paint carefully, using a fine brush or the applicator provided. Give it time to dry thoroughly before applying a clear coat if necessary.
Restoring Paint Scratches
The most significant scratches that reach the metal of the car's body are the most challenging to repair and the most important to address quickly, as they can lead to rust. In this case, DIY methods can still save you from a costly trip to the garage, although the process is more involved.
You'll need to start by cleaning the area and removing any rust present using sandpaper or a specialised rust remover. Then, apply a rust-preventing primer to ensure the area is protected. The next steps resemble the process for primer scratches – using touch-up paint that matches your vehicle’s paint job, followed by clear coat application once the paint dries.
Polishing and Waxing After Scratch Removal
Whichever DIY method you use, finishing with a polish and wax can help to blend the repair into the surrounding area and provide a protective layer to the paintwork. Use a polishing compound and a buffing pad to work over the repaired area and a few inches beyond it for a seamless finish. Finally, apply a quality automotive wax for extra shine and protection.
A Few Tips to Keep in Mind
The key to successful DIY scratch removal is patience and attention to detail. Always work in a clean, well-lit space, and take the time to properly prepare the area before starting any repairs. Moreover, always test any product or method on a small, inconspicuous area of your car to ensure it won't cause further damage.
Remember, DIY scratch removal isn't just about saving money—it's also about taking pride in maintaining the appearance of your vehicle. With the simple and affordable techniques outlined above, you can easily tackle those pesky scratches and keep your car looking as pristine as the day you bought it.