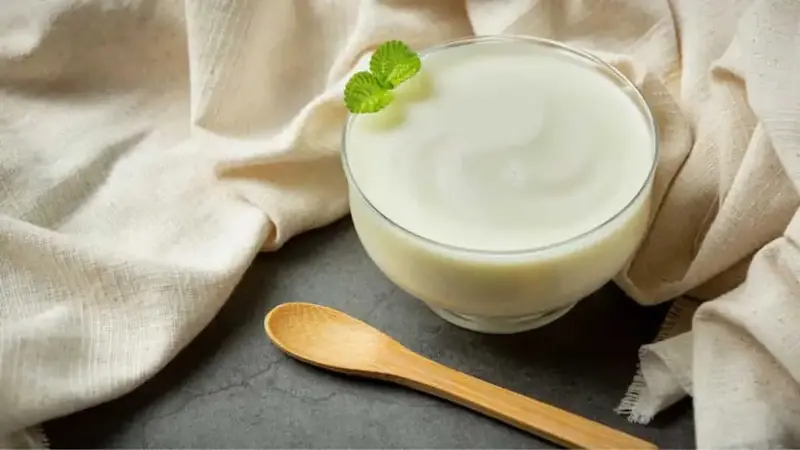
Making curd in the winter season often gives the feeling of a mini science project. The same dahi that sets effortlessly in the summer suddenly turns watery, coarse, and does not set at all when the temperature falls. Cold kitchen countertops and cold air, swipe away the warmth that curd requires to develop properly. Many even try keeping it inside the fridge by mistake, only to think Why does nothing happen overnight. In fact, curd needs even gentle warmth and a piece of extra care during the winter.
From selecting the right milk and starter to discovering the comfiest corner of your home, every small step counts. With a few mindful twists, you can still enjoy thick, creamy, perfectly set curd even on the freezing days, the kind that makes the parathas more satisfying and the meals complete, no matter how down the temperature outside is.
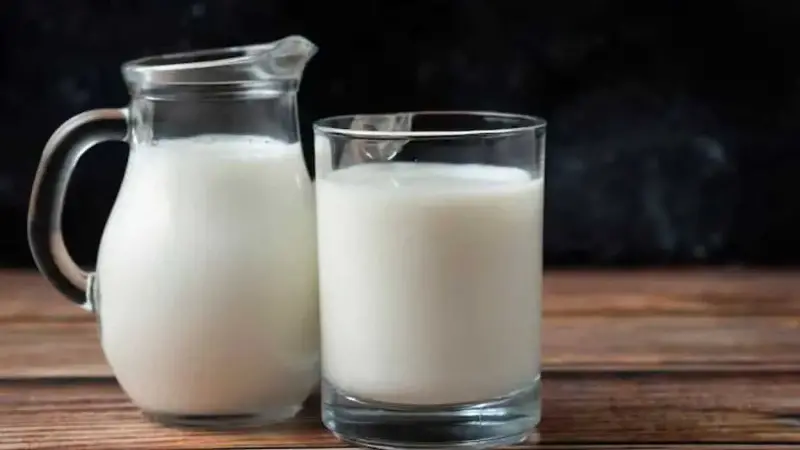
Choose The Right Milk And Starter
In the winter season, curd demands all the warmth and support it can get, so create a strong atmosphere. Use full-cream milk; it turns out thicker and creamier. Boil the milk, let it cool for some time so that it's just warm, like you should be able to dip a finger comfortably. Use a small amount of thick, fresh curd as your beginning; if the starter is sour or old, the curd will turn out to be tangy and runny. A good-quality starter sets the tone for the entire batch of curd.
(Image Credit: Freepik)
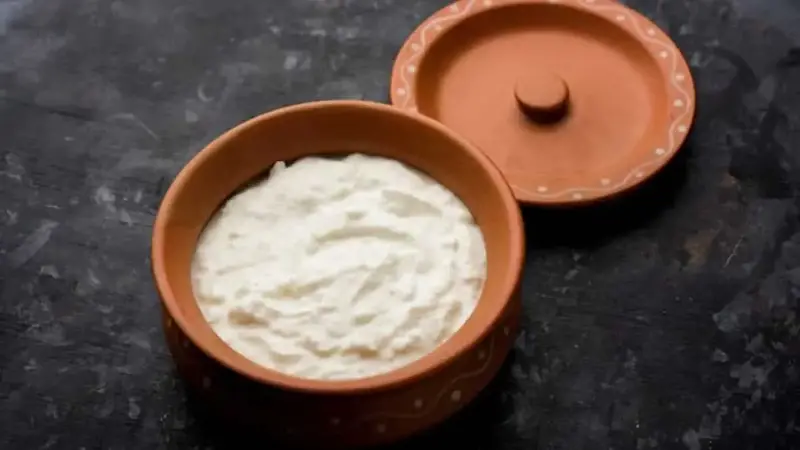
Warm The Container Before Setting the Curd
While the focus is often only on the milk, the cold steel or glass container can change the entire setting. Before adding the milk and the starter, rinse the container with hot water and wipe it clean and dry. This makes a cosy environment for the bacteria to begin multiplying. Pour the warm milk, mix it in the starter gently, and then cover it with the lid immediately. A little warm container helps preserve temperature for an extended period, giving the curd a more satisfactory chance to set.
Also read: 4 Easy Ways To Make Curd Without A Curd Starter
Maintain Gentle, Steady Warmth
The real challenge in winter is not making the curd, but giving it the correct temperature. Once it is mixed, place the curd bowl in a warm setting, inside the oven with the light on, in a microwave with the switch off, or wrapped in a thick towel or shawl to give a warm temperature. Some people keep it near a warm stove or on a wooden surface instead of a cold kitchen countertop. The purpose is to get a soft, even warmth, not extreme heat. If the temperature is too cold, it won’t set, or if too hot, it may break or turn too sour.
(Image Credit: Freepik)
Adjust The Starter Quantity
What works in summer may not work in the winter season. When it is cold, you may require a little more starter curd than expected, for example, 1.5 to 2 teaspoons per cup of milk. But do not overdo it, or the curd will become too sour. In the winter season, curd can take up to 8 to 12 hours to set, occasionally overnight as well. Also, keep in mind not to keep checking after every hour, as it may hamper the setting of the curd, as every check lets out the trapped heat. Set it at night and let it rest without disturbing it till morning.
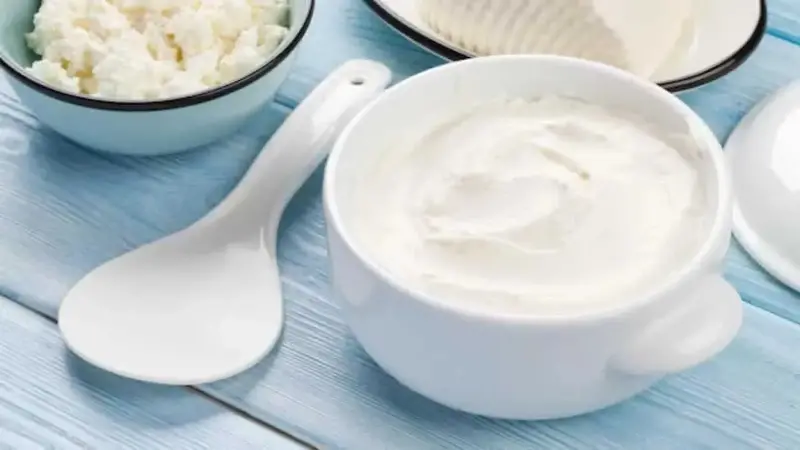
Don’t Forget To Chill After It Sets
Once the curd has finally set, shift it to the refrigerator. This step is often overlooked, but it is very important. In winter, it is often presumed that it will not turn sour too fast, so it is left out for hours. But once it is set, the works continue at room temperature, making the curd increasingly sour. Keeping it in the fridge slows down the fermentation, locks in the flavour and texture, and gives that perfect, mild-tasting curd.
(Image Credit: Freepik)